Spectabill simplifies SaaS billing, offering a complete solution for managing products, customers, subscriptions, invoices, and payments. Using a fictional product, “CollabPro,” this guide demonstrates how to set up and run your billing operations with Spectabill’s user-friendly tools.
Getting Started with Spectabill
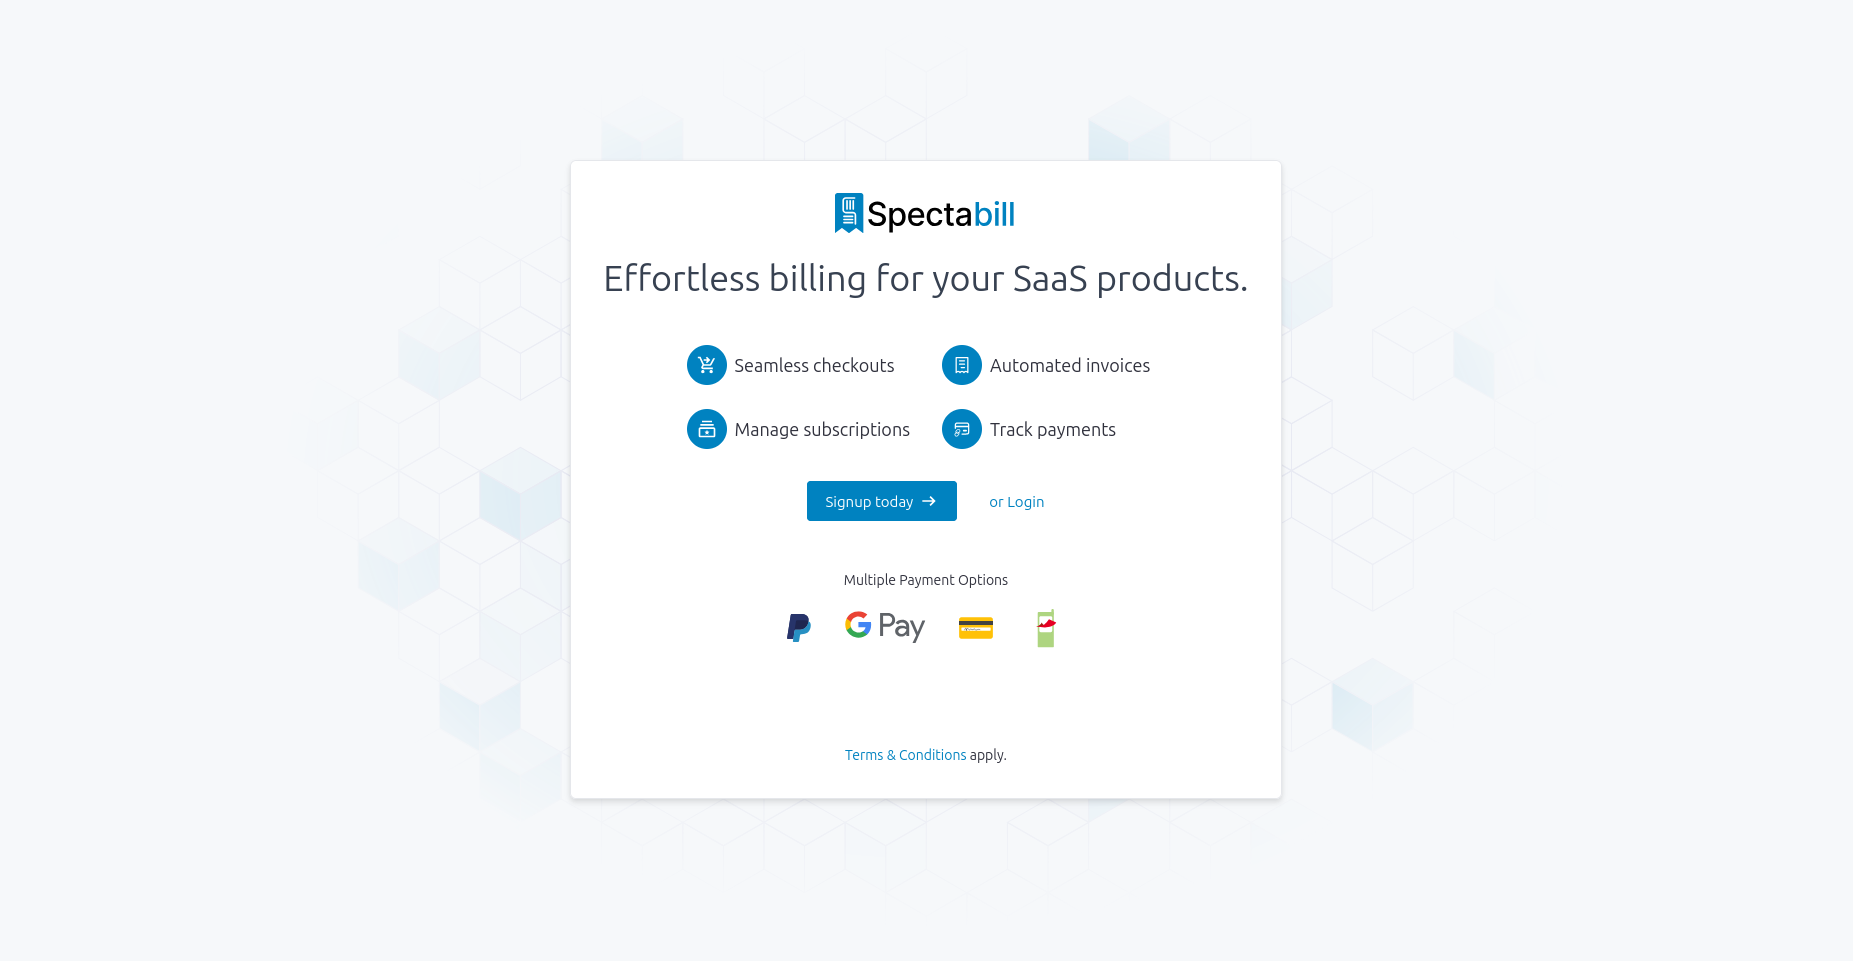
Begin by logging into your Spectabill dashboard or creating a free account. The dashboard organizes all billing tools—products, customers, subscriptions, invoices, and checkout—into an intuitive interface.

Once logged in, you’re ready to configure your billing system. Try it now: Explore the dashboard in our sandbox environment.
Creating and Managing Products
In Spectabill, a product represents a specific service or offering you provide to your customers, such as software access, a service package, or a digital download. Products are the building blocks for subscriptions and one-time purchase billing models, defining what you sell and how it’s priced.
Creating Your First Product
Navigate to the Products section and click + New.
Enter product details:
- Name: e.g., “CollabPro”
- Description: e.g., “Team collaboration software for seamless workflows”
- Status: Choose Draft (for editing), Published (live), or Archived (inactive)
Select a billing model:
- One-time payment: For setup fees or add-ons
- Flat-rate subscription: For recurring plans (e.g., monthly or annual)
- Usage-based billing: For pay-per-use features (e.g., API calls)
Configure pricing:
- Currencies: KES, USD
- Billing cycles: e.g., monthly (Ksh. 10,000) or annual (Ksh. 100,000)
- Tiers: Add tiered pricing if needed (e.g., based on user count)
Save and publish the product.


Your product appears in the Products List, where you can view, edit, or archive it.

Managing Products
- Edit: Update pricing, descriptions, or billing models as needed.
- Archive: Hide inactive products without deleting them.
- Duplicate: Create similar products quickly for variations.
Managing Customers
Customers are central to your billing operations, and Spectabill makes it easy to add and organize them.
Adding a Customer
Go to the Customers section and click + New Customer.
Enter details:
- First and last name
- Email address: For invoices and communications
- Address: Full details for accurate invoicing
- Custom fields: Add unique data (e.g., company size, contract terms)
Save the profile.

Customers appear in a searchable Customer List, with details like status (active/inactive) and join date.
Viewing Customer Profiles
Click a customer’s name to see:
- Contact information
- Subscription history
- Payment records
- Activity timeline
- Address details
This unified view ensures you have all relevant data at your fingertips.
Setting Up Subscriptions
Subscriptions connect customers to products, defining billing terms and schedules.
Creating a Subscription
Go to Billing → Subscriptions and click + Create Subscription.
Select the customer and “CollabPro” from dropdown menus.
Configure settings:
- Currency: e.g., KES
- Billing cycle: e.g., annual (Ksh. 100,000)
- Trial period: e.g., 14 days
- Auto-renewal: Enable for seamless renewals
Set invoice preferences:
- Auto-create invoices: Generate invoices automatically
- Auto-charge: Charge saved payment methods
- Email delivery: Send invoices for manual payments
Save and activate the subscription.

The subscription appears in the Subscriptions List, showing the customer, product, next billing date, and status.
Managing Subscriptions
- Extend trials: Add extra days if requested.
- Update settings: Change billing cycles or invoice preferences.
- Cancel or pause: Adjust status as needed, with Spectabill handling financial calculations.
Managing Invoices
Spectabill automates invoice creation for subscriptions but also supports manual invoices for flexibility.
Creating a Manual Invoice
Go to Invoices and click + Create Invoice.
Select the customer and currency (e.g., KES).
Add items:
- Description: e.g., “CollabPro Annual Plan”
- Quantity: e.g., 1
- Unit price: e.g., Ksh. 100,000
- Tax rate: Apply if applicable
Choose payment method:
- Auto-charge (if payment method saved)
- Email invoice for manual payment
Set due date and add optional notes.
Create the invoice.

Invoices appear in the Invoices List, where you can track status (paid, pending, overdue).
Streamlining the Checkout Experience
Spectabill’s checkout process ensures customers can subscribe and pay with ease.
Checkout Flow
Payment Screen:
- Displays the product (e.g., “CollabPro”).
- Customers enter their phone number for M-Pesa Ratiba payment.
- Check the privacy policy box.
- Click Verify Enrollment, then enter their M-Pesa PIN via a phone popup to confirm payment.

Confirmation Screen:
- Confirms successful subscription enrollment.

This streamlined flow reduces friction, making it easy for customers to subscribe and manage payments.
Automating with Spectabill’s API
For advanced users, Spectabill’s API enables automation of tasks like:
- Creating products and subscriptions programmatically
- Syncing customer data with your CRM
- Automating invoice generation and payments
Explore the Spectabill API documentation for integration details.
Why Spectabill Excels
Spectabill’s integrated tools—product creation, customer management, subscriptions, invoices, checkout, and API—simplify SaaS billing while delivering a professional customer experience. Set up in minutes, manage with ease, and scale effortlessly. Ready to experience Spectabill?
- Test all features in our sandbox environment.
- Dive into our Spectabill Docs for detailed guides.
- Book a personalized demo to see Spectabill in action.